Floral Georgette Dress
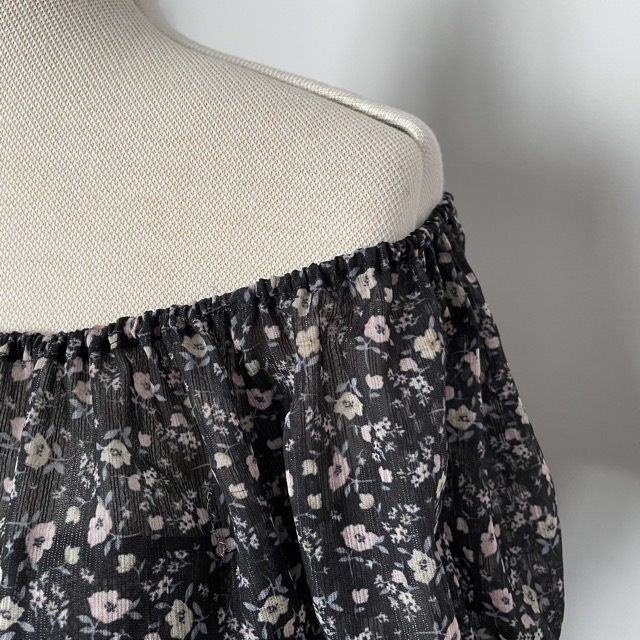
This was… a bit of a spicy one. I was on something of a high from finishing a dressing gown in a weekend, so when the next Friday rolled around I decided to tackle this.
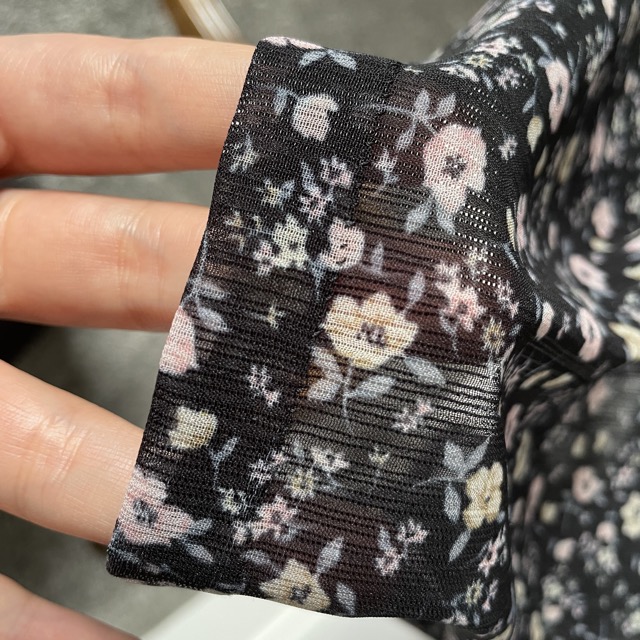
I found the fabric - a cute floral georgette - as a 3m end-of-roll bargain online. I was originally thinking of a sheer blouse/top for general wear, but it turned out to have a fun glitzy silver thread running through it to give it some sparkle. That would have made it a more ‘going-out’ style top; a) I almost never go out and b) if I do go out I’m almost certainly going to be in a dress.
(Score one for me on the ‘being more mindful with my crafting choices’ front.)
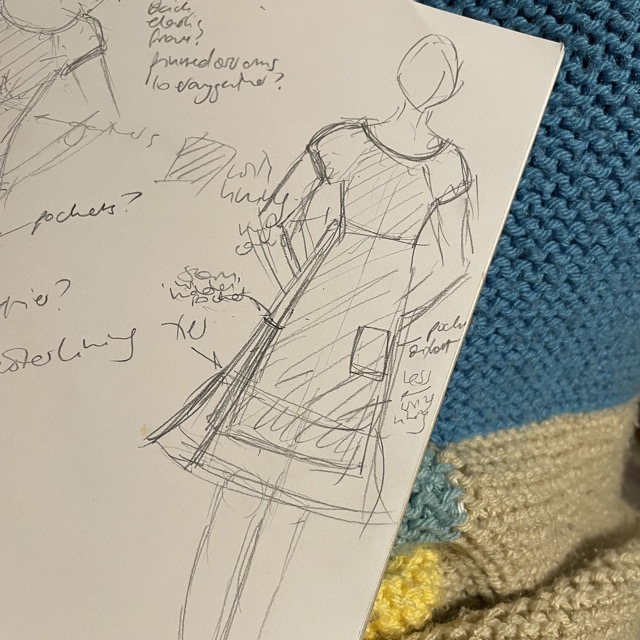
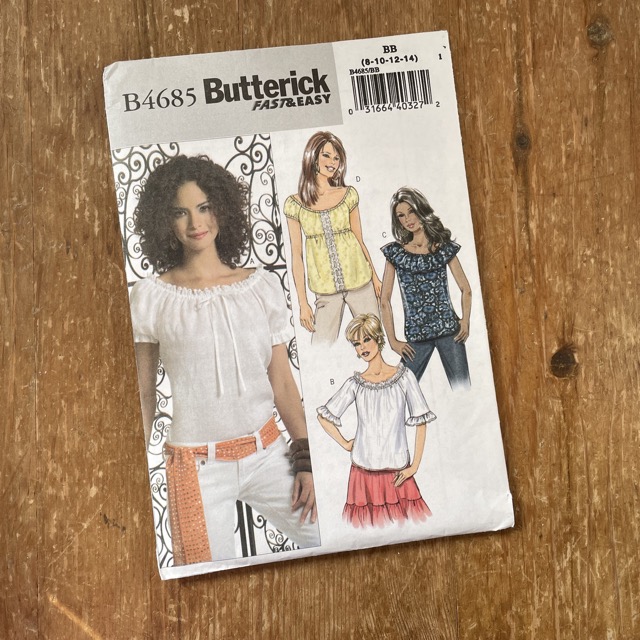
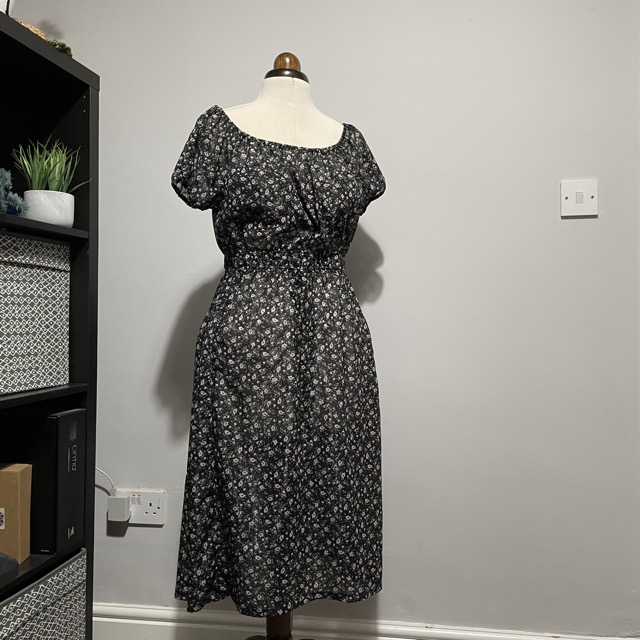
So I had a think and came up with a loose idea of a dress; deep round neck, with a swingy skirt, maybe tiered (but not too frou-frou), puff sleeves (but not too puffy) and pockets (of course). I had a pattern for a milkmaid-style top in a useful style (Butterick B4685), so I borrowed that for the top. For the bottom half I traced my favourite dress, which has bangin’ pockets (can safely fit a whole Nintendo Switch in them) and interesting panels that I thought might be fun to replicate.
And it was fun!
Until I got the sewing machine out. 💀
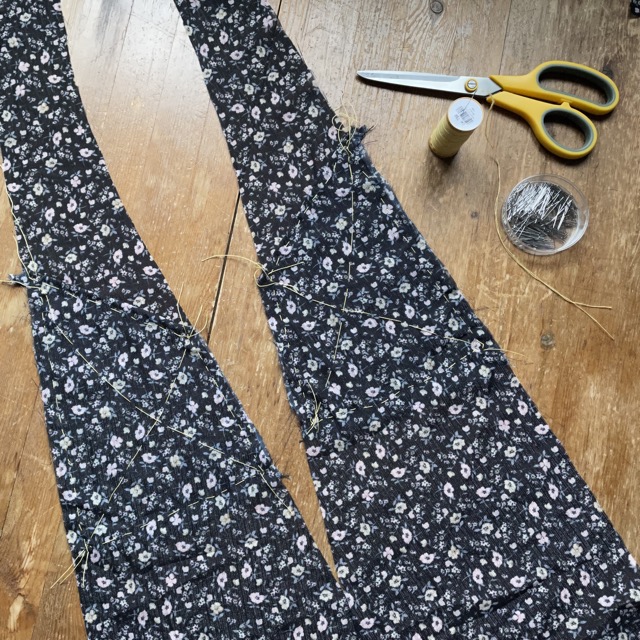
I know sheer fabric is difficult to work with; I was prepared for that. I was not prepared for the glitzy silver thread which made it an absolute nightmare. Because that thread was slightly flat - the better to catch the light and ✨sparkle✨ - the better it also was for being snagged by the sewing machine needle and pulling gathers into the fabric where no gathers were supposed to be. And this happened roughly every fifteen seconds, so eventually I got so mad with the machine that I gave up and started stitching by hand.
I decided to do French seams to contain the edges, because I’m fancy like that 💅. However it was impossible to mark the fabric with either chalk or pencil so I thought to myself, ‘oh it’ll be fine, I’ll just eyeball them’. It was not fine. Misled by fraying edges and sewing machine rage I went way off-course and ended up with mismatched side panels and a neckline that pulls slightly to the left. Learning here: mark your goddamned seams, careless.
Also, word to the wise: however far you trim your French seams after the first stitching, trim them further. You don’t want to end up with hairy seams, kinda ruins the elegant appeal of the technique.
I did learn a new trick when threading the elastic. I usually use the safety-pin technique but as the elastic was quite thin (3mm), the safety pin had to be as well, which meant it wasn’t strong enough and kept coming open mid-seam. So, I made a tiny loop in the end of the elastic, secured it with a couple of tiny stitches in basting thread, and then threaded the loop onto a hair pin. Worked a charm.
I had to stuff this in the wardrobe for a while after finishing, to let the bad vibes dissipate. I think I’m fine with it now, though.

 Fisherman's Rib Jumper [knitting]
 Slipped Stitch Cropped Vest [knitting]
 'Eloisa' Dress in Floral Rayon [sewing]